
Good lord, look at that mess! Isn't it amazing how once a space starts to come together and you feel good about your surroundings then you start to clean up after yourself more? I will never win Housewife of the Year, but at least our house doesn't (normally) look like a tornado hit it anymore.
In July I found this gem when we happened to be in Kentucky for my cousin's college graduation:

It was $80. Maybe this seems like a lot, but this is the style we are always on the hunt for and it tends to be pricey in the Midwest. Plus I didn't want to paint it, so I needed something in fairly decent shape. When we got home and had the Mister unload it he got upset because he thought we had paid hundreds of dollars for it.
The top needed some sanding and refinishing:
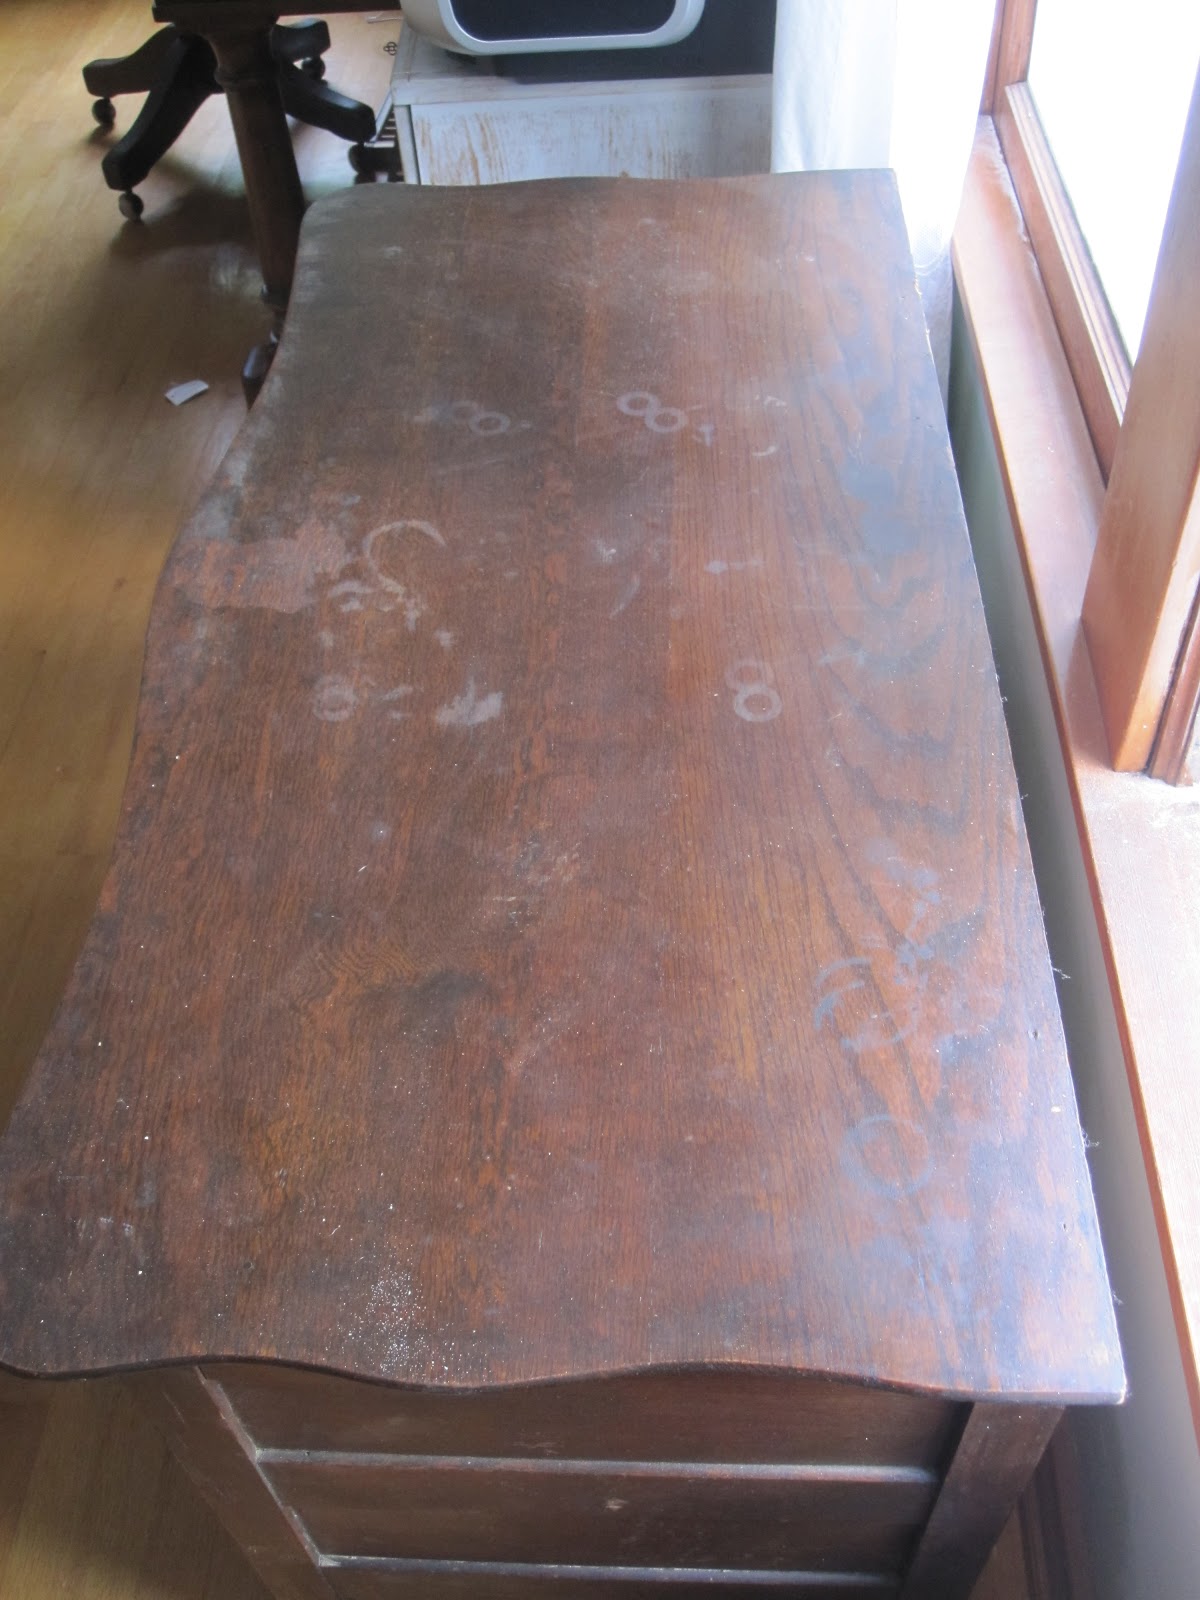

We sanded it down, plopped on two coats of Minwax Water-Based Stain in Coffee:

I actually took one of the drawers with me into Home Depot and it was a lifesaver! Both of the colors I initially thought would work were WAY off and this stuffs non-refundable, as they blatantly point out on the label.
The directions tell you not to sand between coats and to only do two coats of stain. This is what happens when your overzealous domestic partner butts in on your project and throws caution (and the instructions) to the wind:

Ugh. It looked like someone painted it with melted chocolate... I had to wait two days for the whole thing to dry completely and thoroughly and then buff it out. Ridiculous.
Here's the final product. Lovely. You can still see the grain, but the stains are completely gone, and it matches the original finish perfectly.


It's by no means perfect, but I wasn't about to sand down the entire thing and re-stain it. I'm lazy.
I hated the original, boring wooden knobs, so I replaced them with these fun drop pulls.

I was also not a fan of their shiny brass finish and I did not want to pay nearly double for the "antique-by-hand" finish, so I ordered up some Brass & Bronze Aging Solution and did it my ownself.

Get your supplies together, drop your hardware in the solution.

And watch that baby tarnish.

Awesome.
I'm linking up at The Shabby Chic Cottage!